Discovering the sky
This session can last 1h30 or 2 hours, it depends on the questions of the pupils.
See the slides and download the file
See the comments
This is an example of comments, we change them, or add details in link with the question and the background of the pupils.
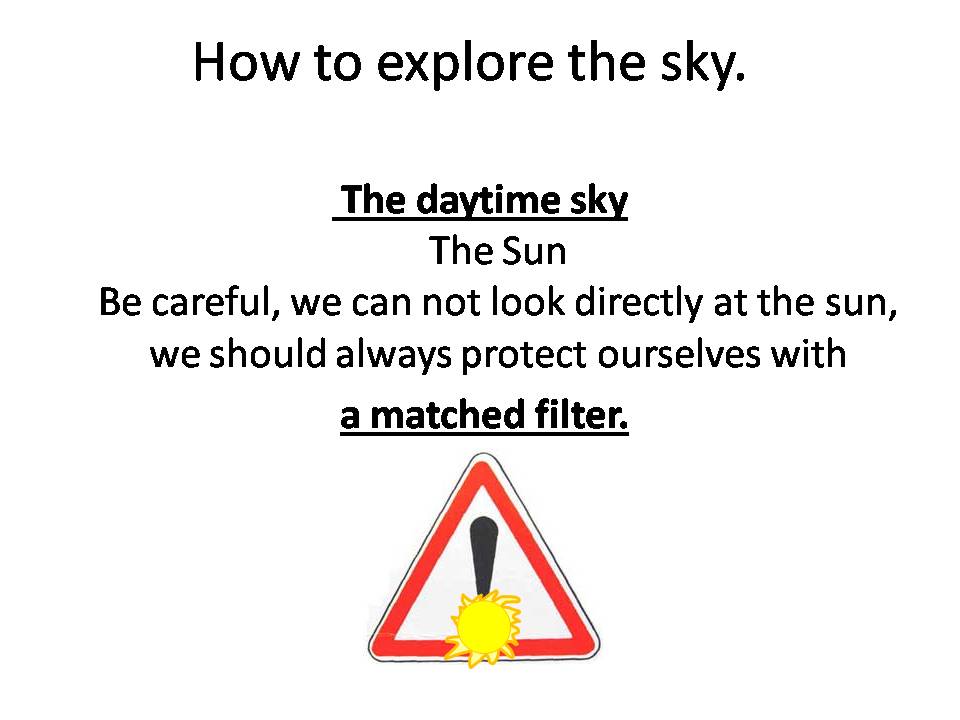 |
First, before the beginning of this presentation, there is not a lot of security rules in astronomy. The most important is to not look directly at the Sun without matched filter! |
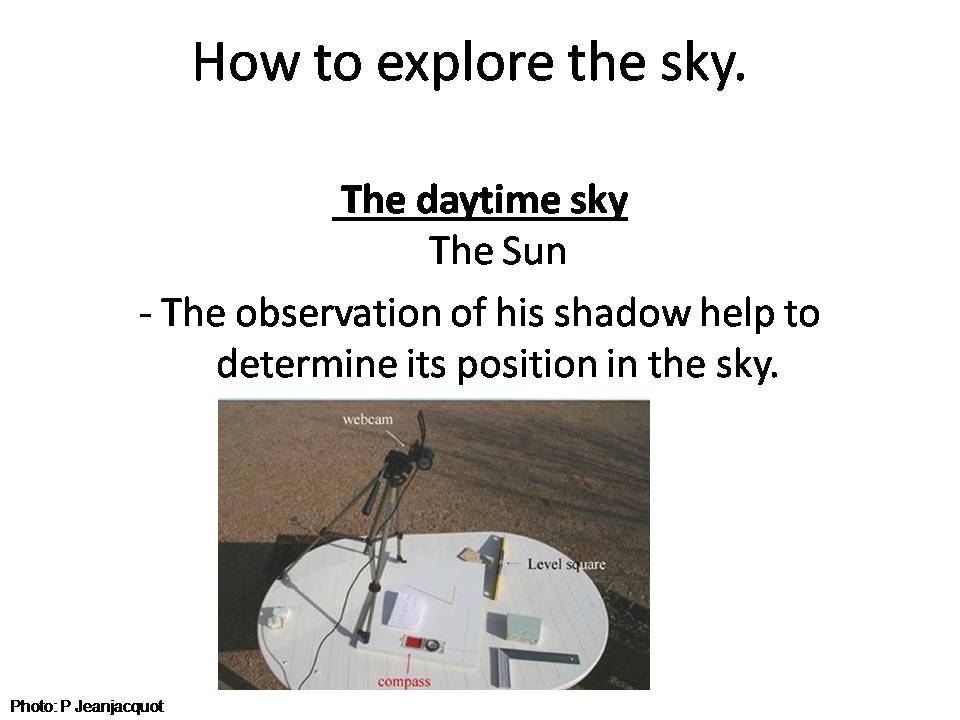 |
We will begin this exploration with the daytime and what we can see during the day time. The most obvious stellar object is the Sun. And the simplest technique to get information on it is to use his shadow. We can use a vertical stick (a gnomon) and find the position of the Sun with his shadow. If we want to see the motion of the shadow, we can follow it with a webcam. |
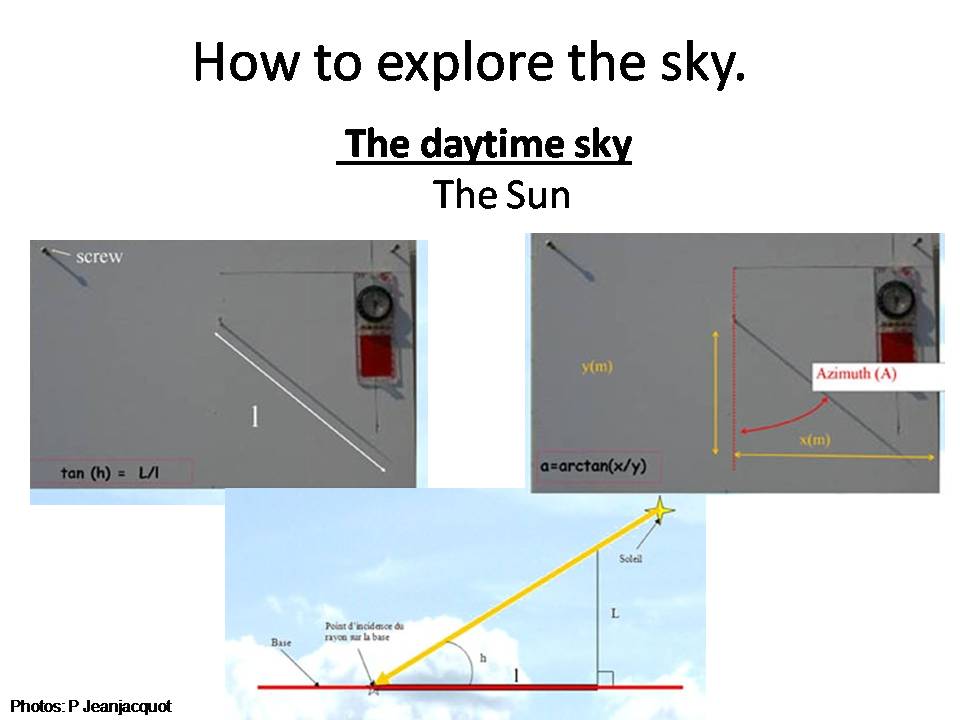 |
On this slide we can see how to find is position: Azimuth and Altitude. |
 |
Another to observe the sun is to use a projection of the Sun on a screen. It is simple and it allows to see the sunspots. |
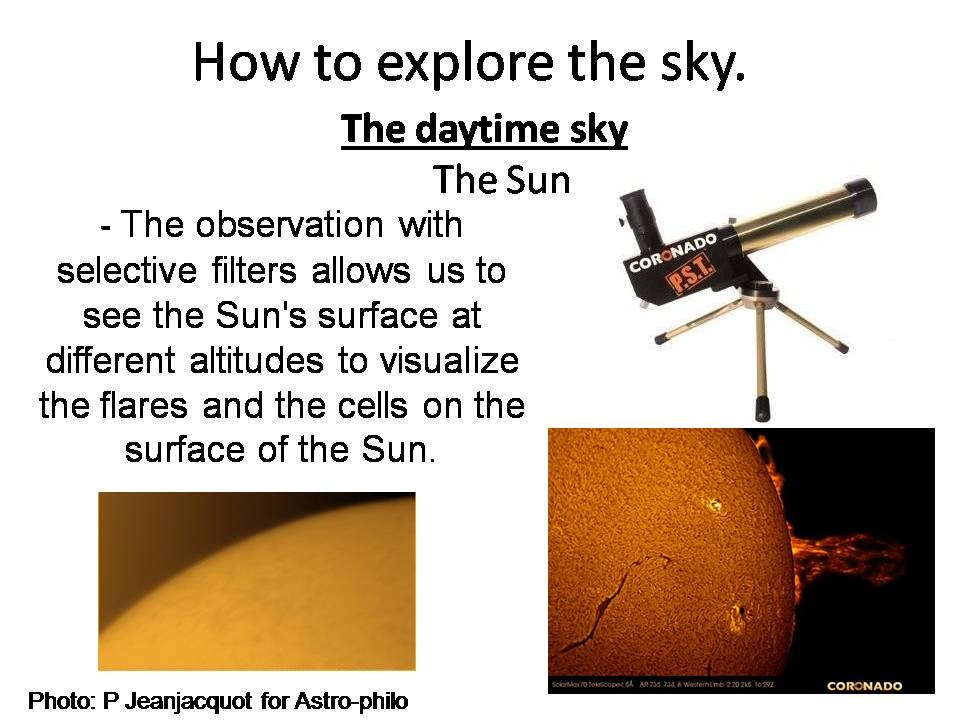 |
To see the convection cells on the surface and some of the flare it is necessary to use a H alpha filter. |
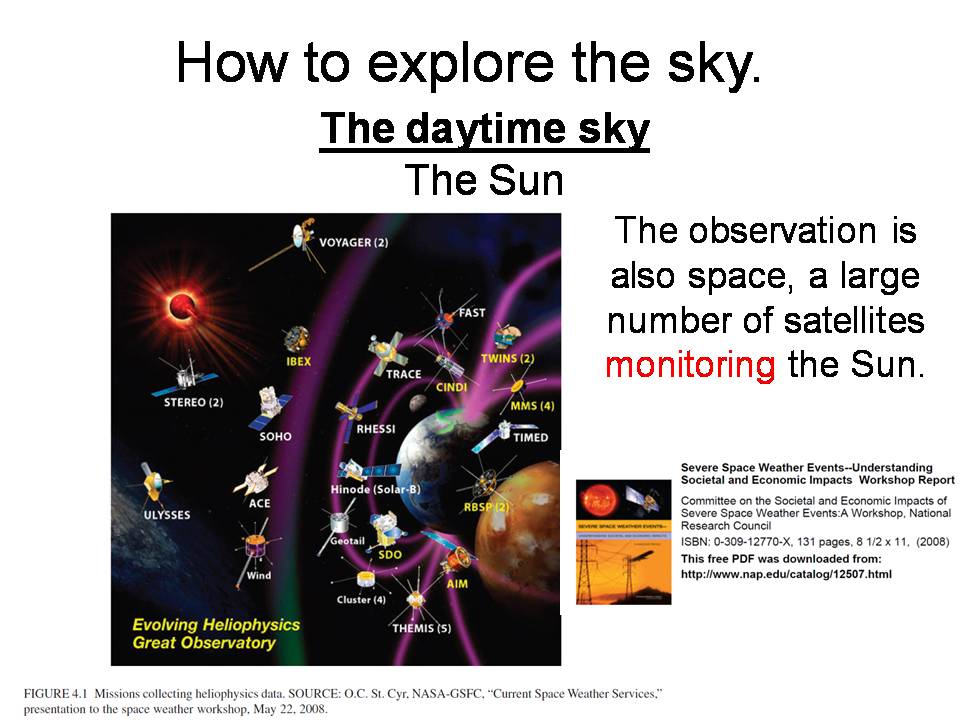 |
A great number of satellites observe and monitor the Sun |
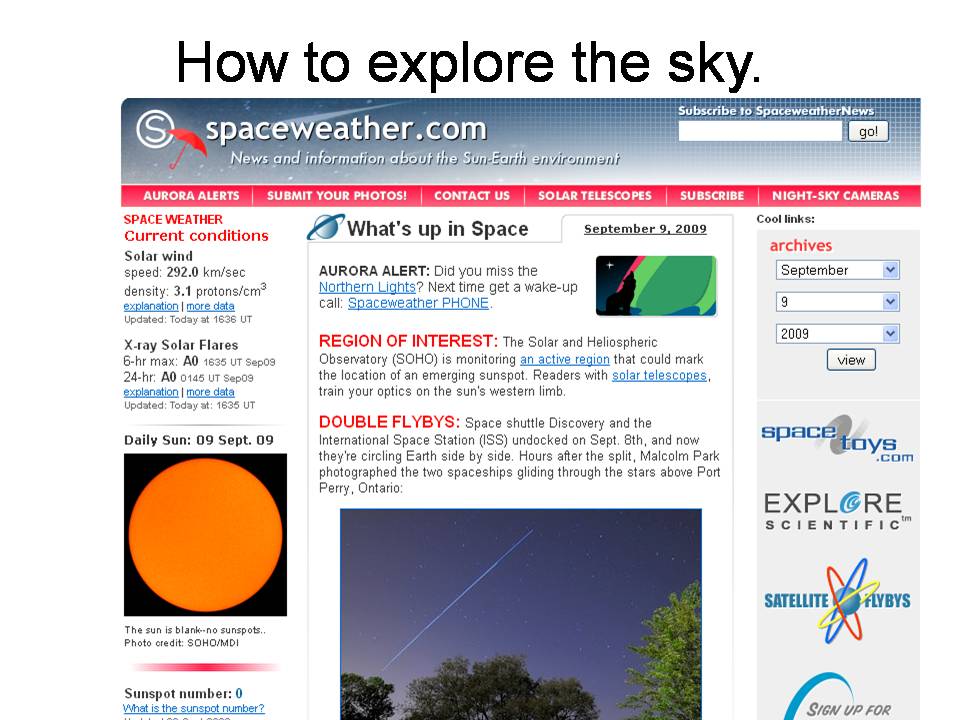 |
To prepare an observation session of the Sun we can also see on internet. |
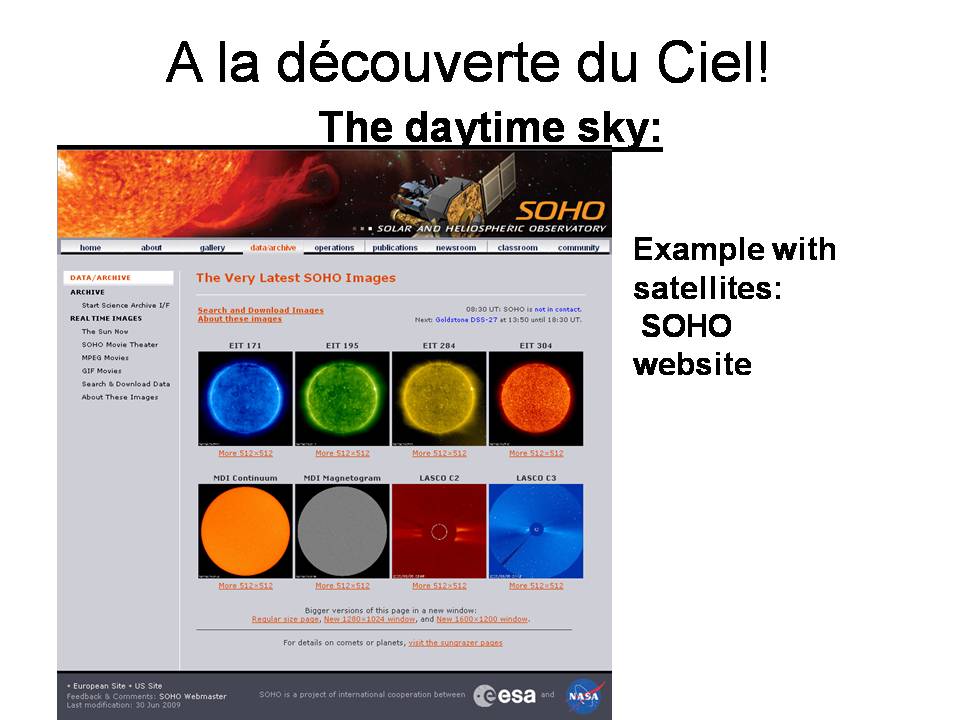 |
Some satellites have their own website. This is the case of Soho. In this website we can see the real time pictures of the Sun. |
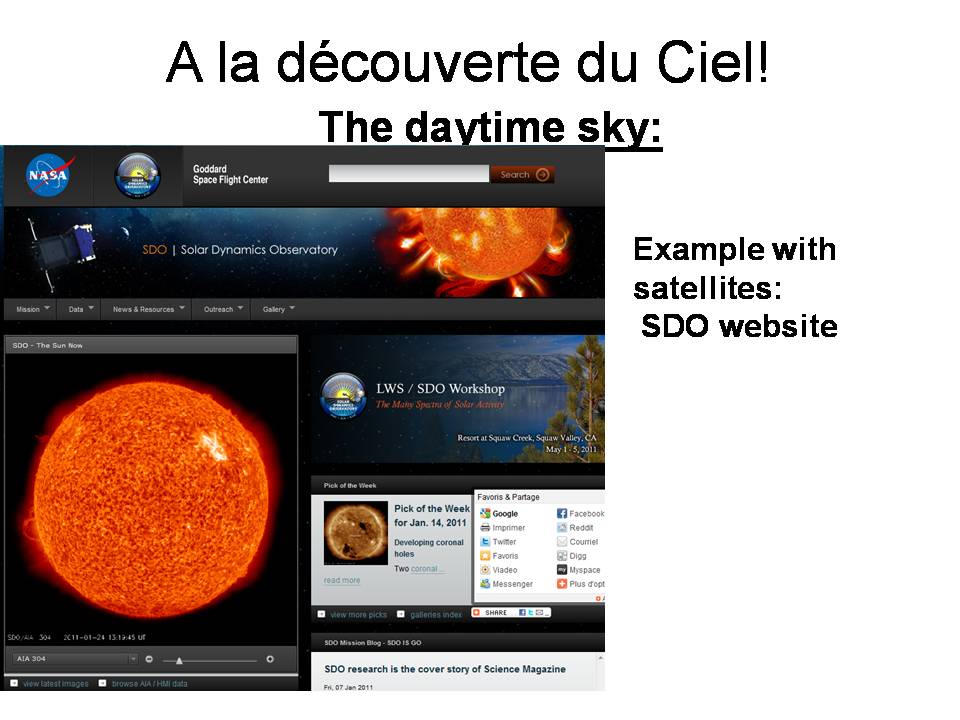 |
One of the last satellites is SDO. The pictures are much more acurates, more than an HD TV. |
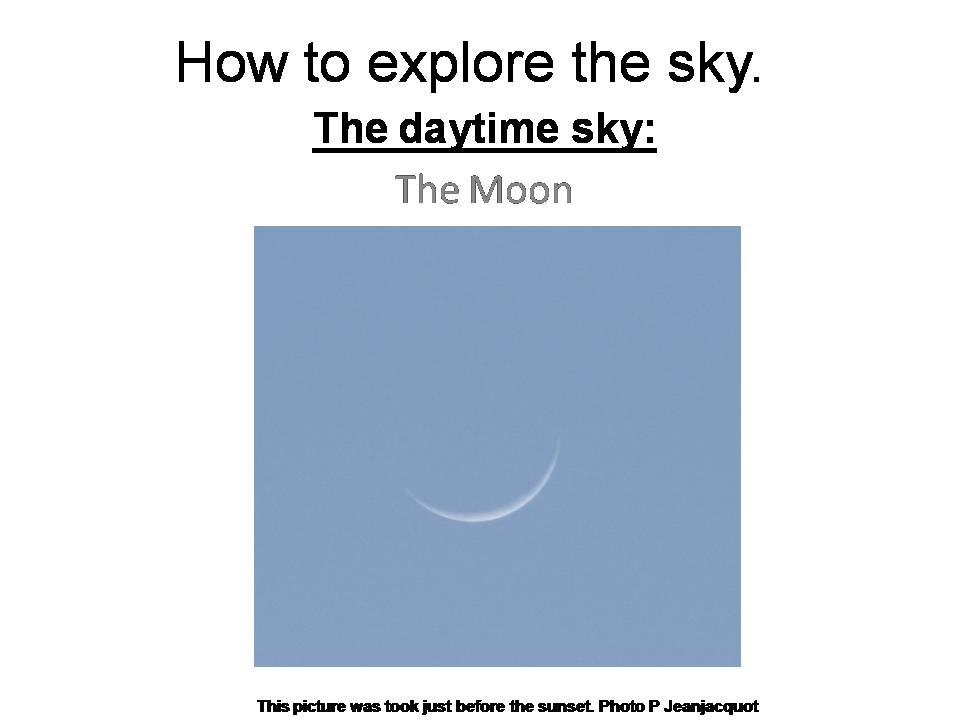 |
The moon is also easy to find in the daytime sky. But to observe it is better if the Moon is not near the Sun (for safety reason, see the first slide) |
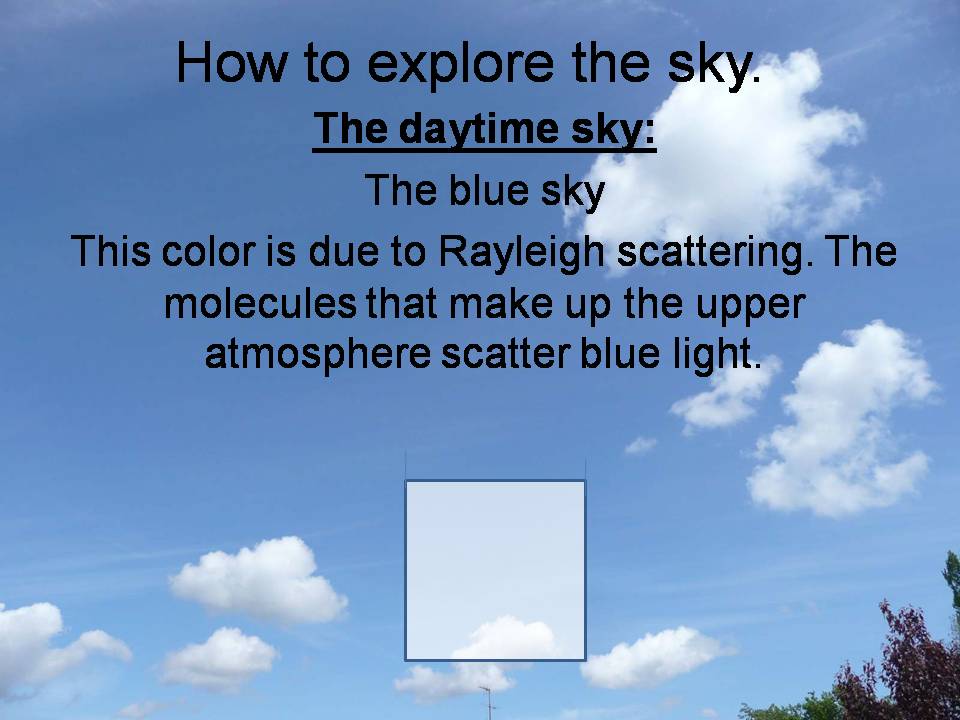 |
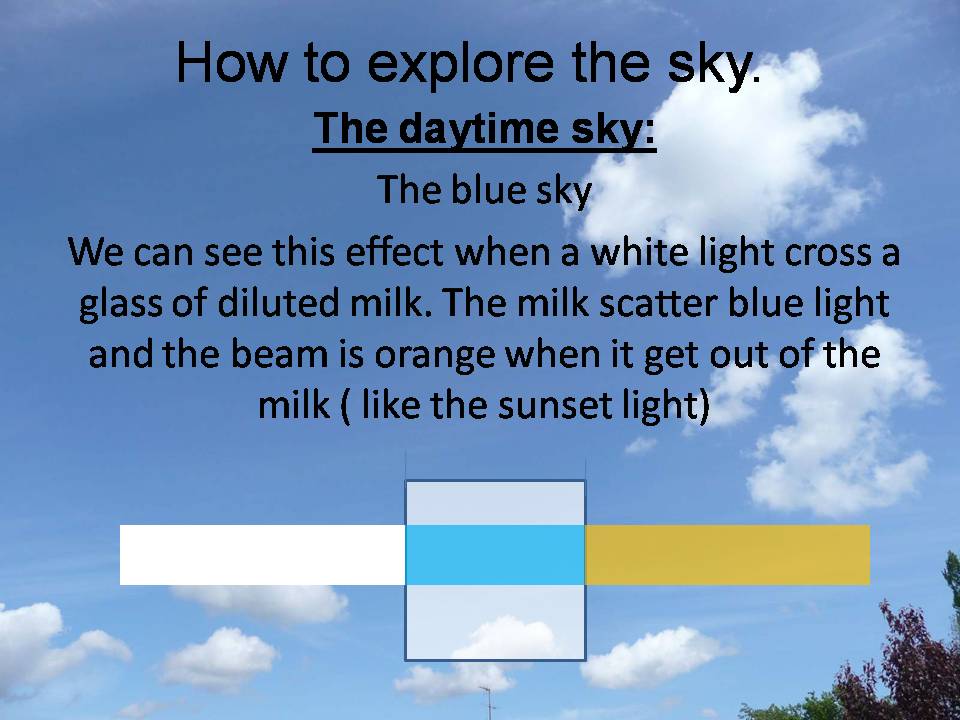
To explain the color of the sky and of the sunset we can show the experiment with a glass of water mixed with some drops of milk. When the glass is cross by a white light it seems to bee blue and the beam became orange after the glass. it is the Rayleigh scattering |
 |
|
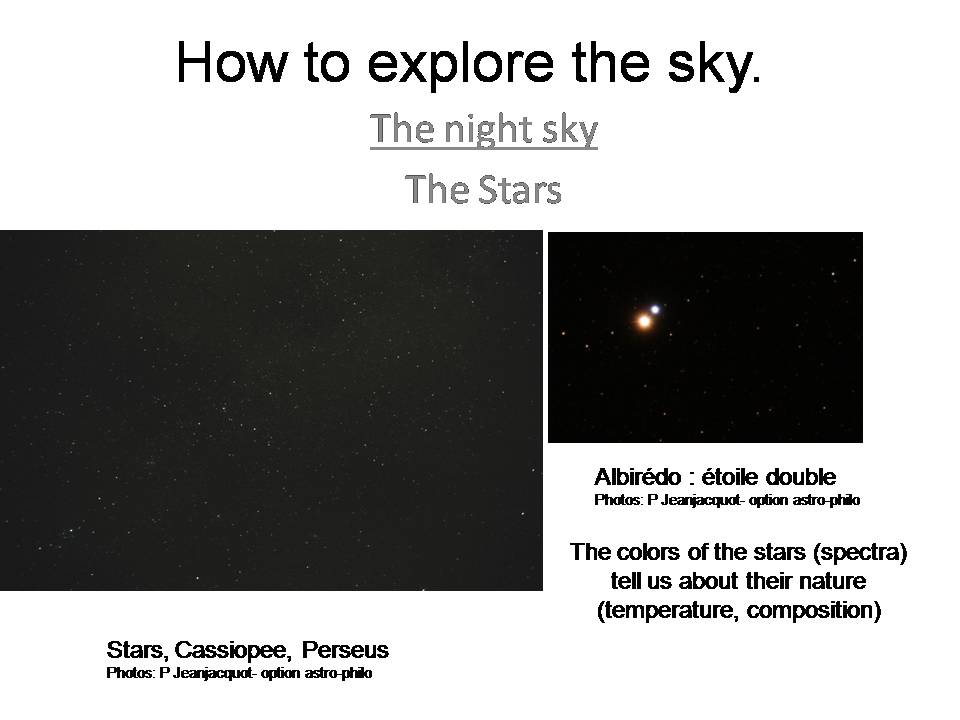 |
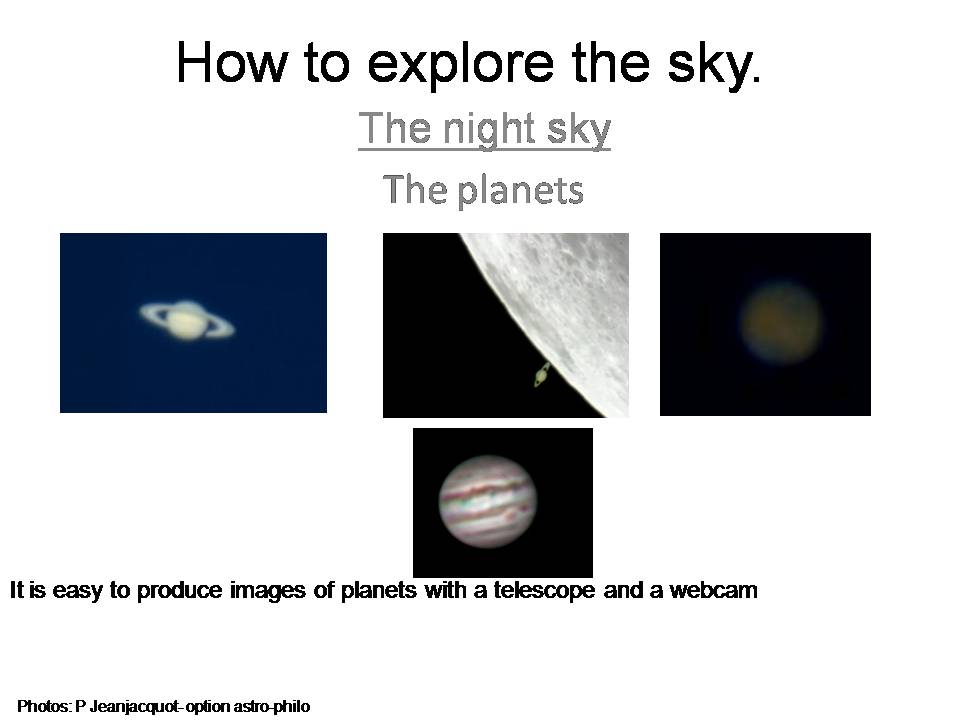
Those following examples show what we can see with a non-professional telescope. All of the pictures were made during our teaching. The first of these slides is about the stars. We can see the different colors and luminosity of the stars. This information can be used to estimate the temperature, the size and the distance of the stars. |
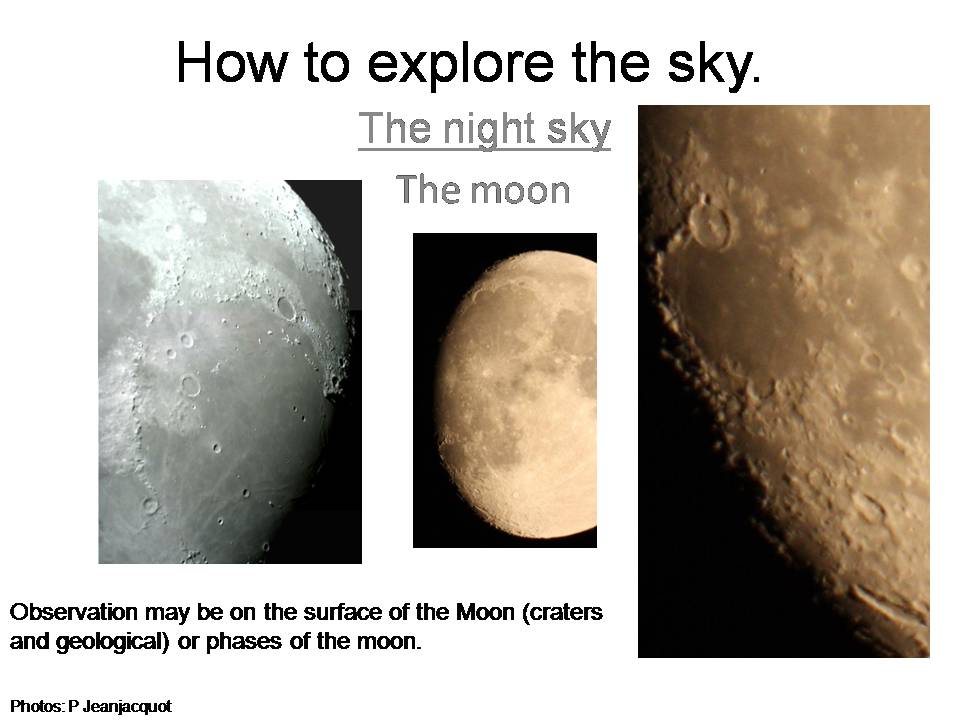 |
With the Moon observation we can understand the birth of the craters and also calculate the height of the mountain (with the size of the shadow). The pictures of the Moon are stacks of images made with a webcam with a telescope. The biggest are made with a camera (short time exposure) and a telescope. (see the method) |
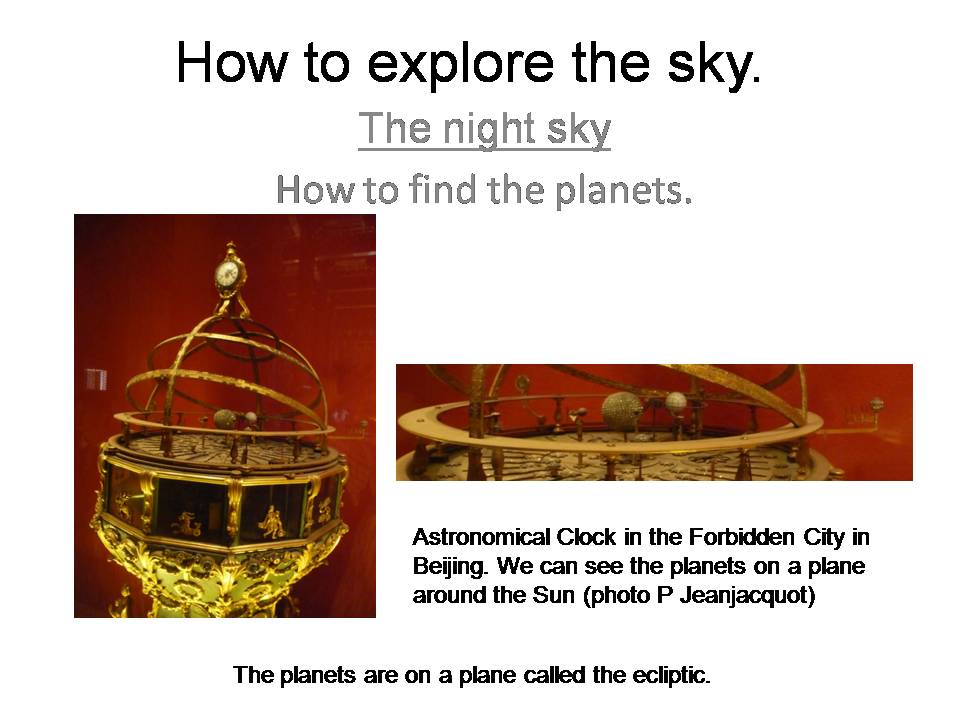 |
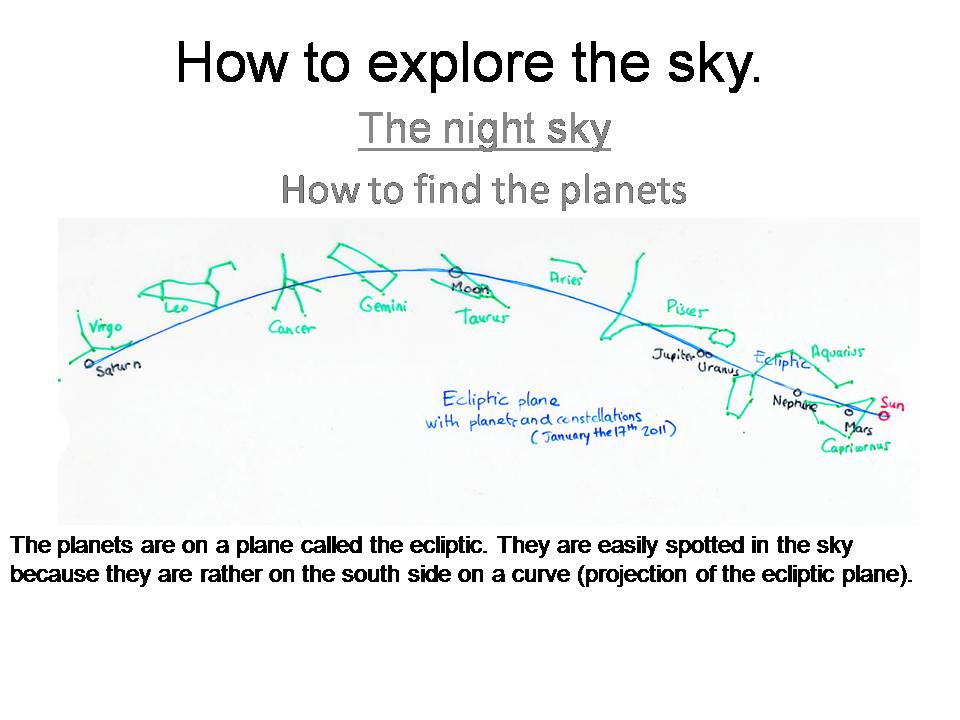
In the sky some of the shinning dots are moving slowly. Day to day, their position changes on the background of the stars. The ancient Greek name the vagrants Planetos, planets. They are on the same plane. They turn around the Sun. We will see that this evidence was not so easy to prove during the history. |
 |
|
 |
|
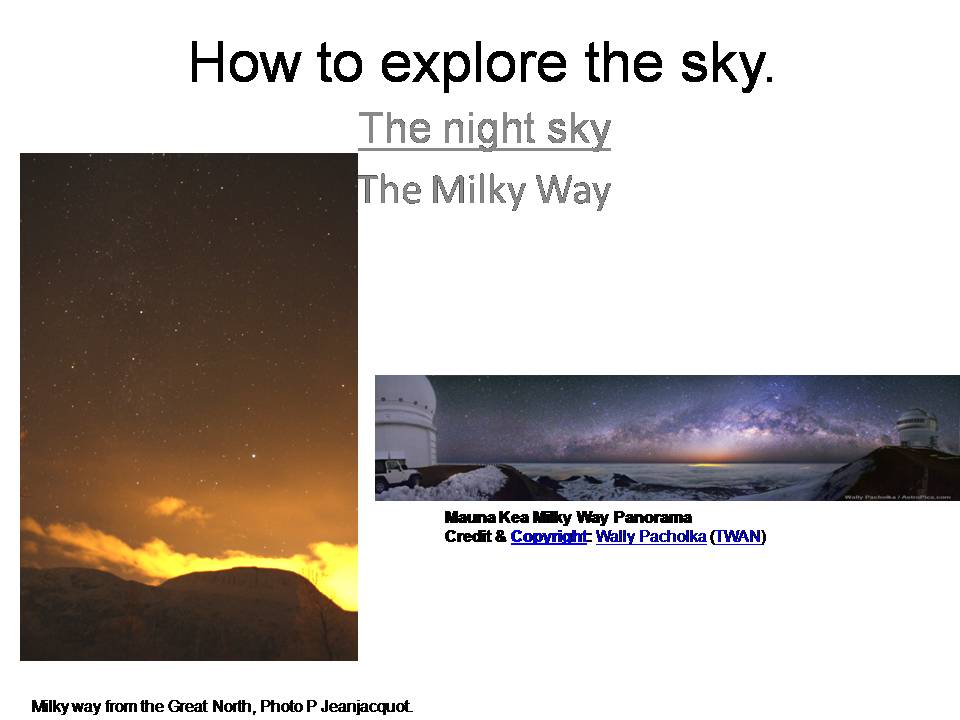 |
In the sky we can see also some kind of shinning clouds. The biggest cross the sky and we can see it if the sky is very dark (far from the cities). This is our Galaxy, the Milky Way. |
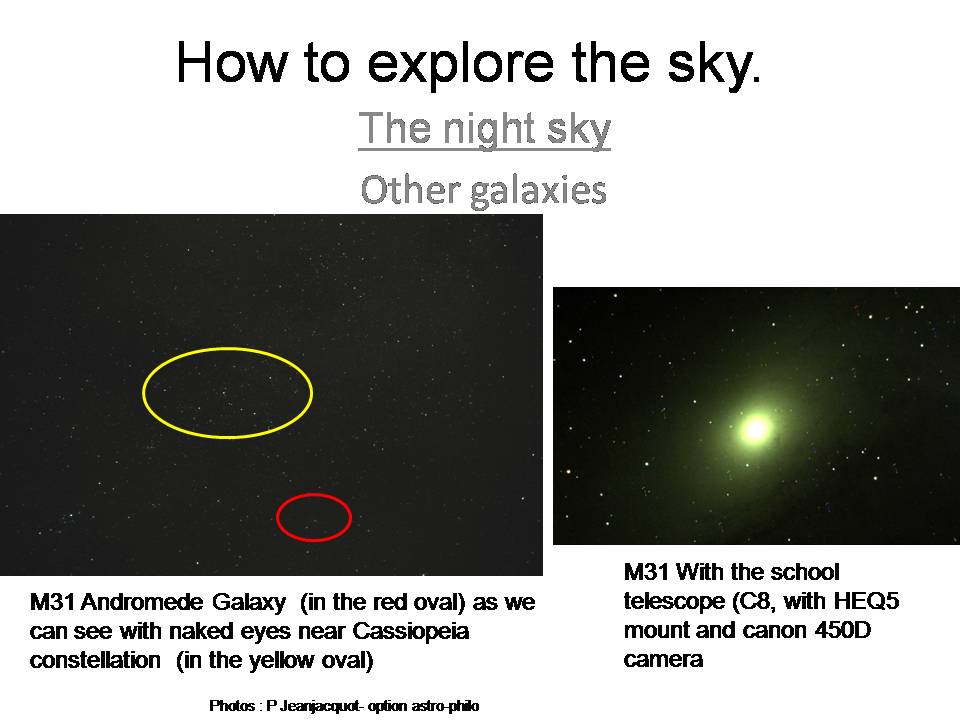 |
We can see also other galaxies. The Andromeda galaxy is the closest at 2;5 million light years! (We can explain what a light year is). We can see it with binoculars. |
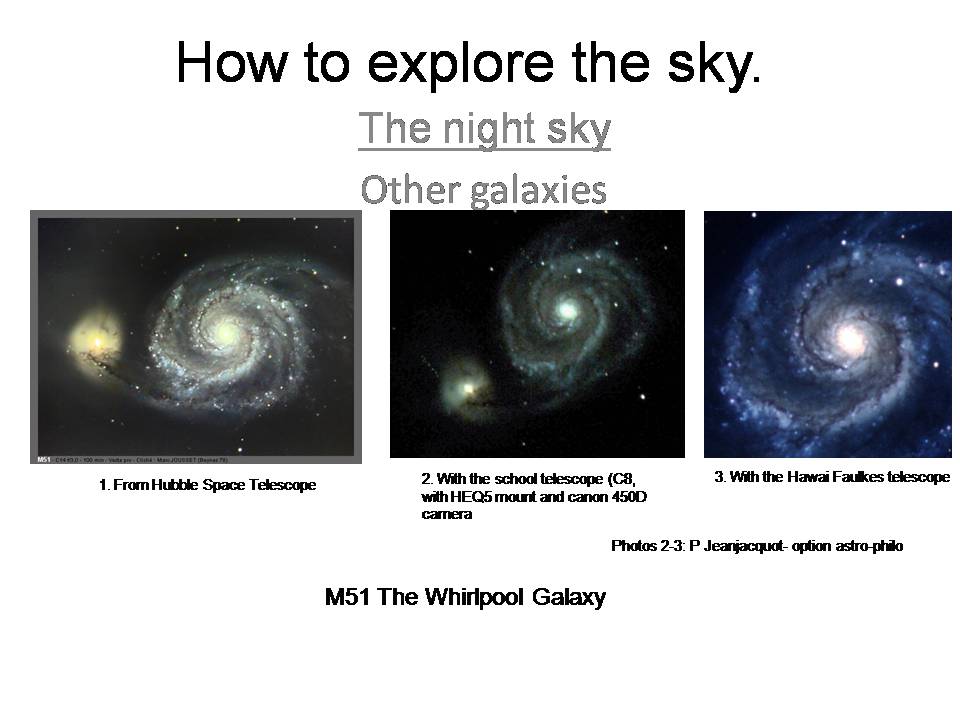 |
With a telescope, a good dark night and a clear sky we can see a lot of others galaxies. This example: the Whirlpool galaxy can be easily photographed. |
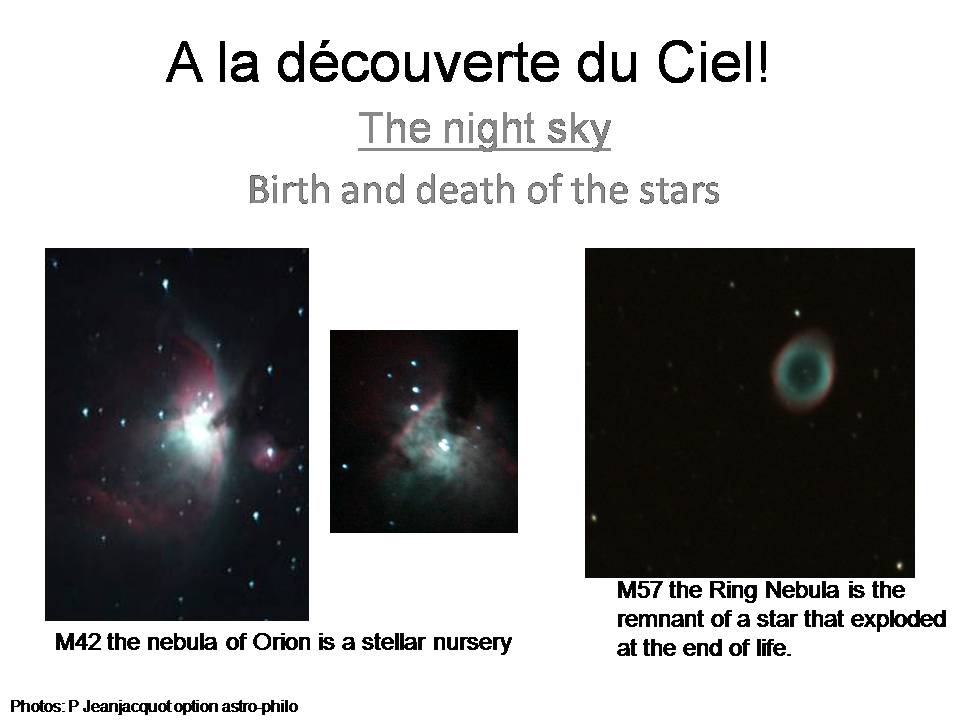 |
We can see also the birth and the death of the stars |
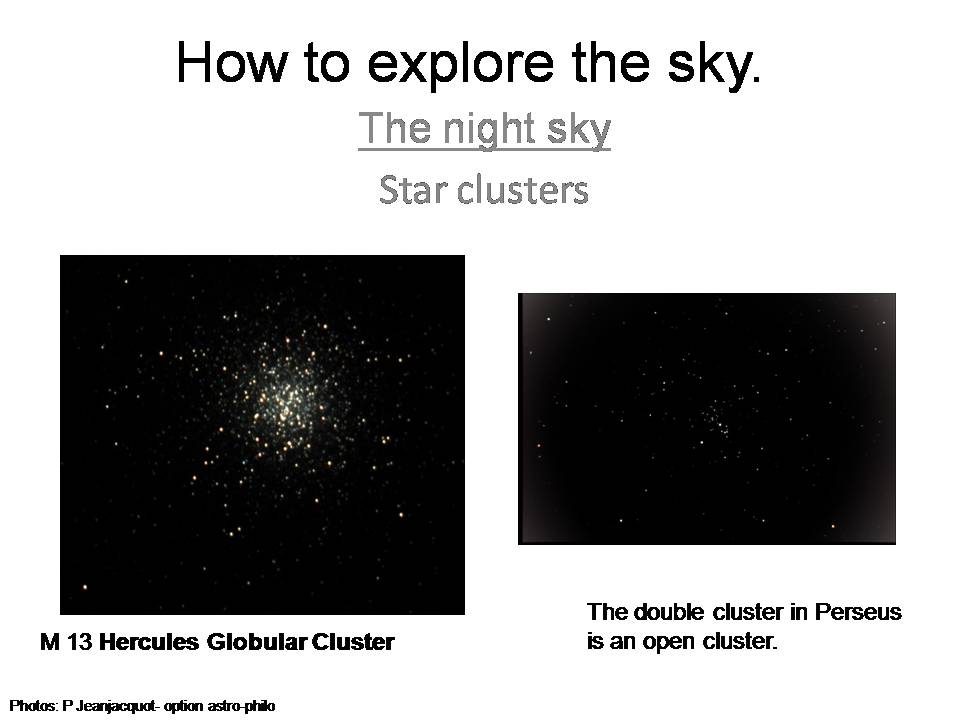 |
The stars born, die , they are in Galaxies, they can be alone, by 2,3 but also in clusters. |
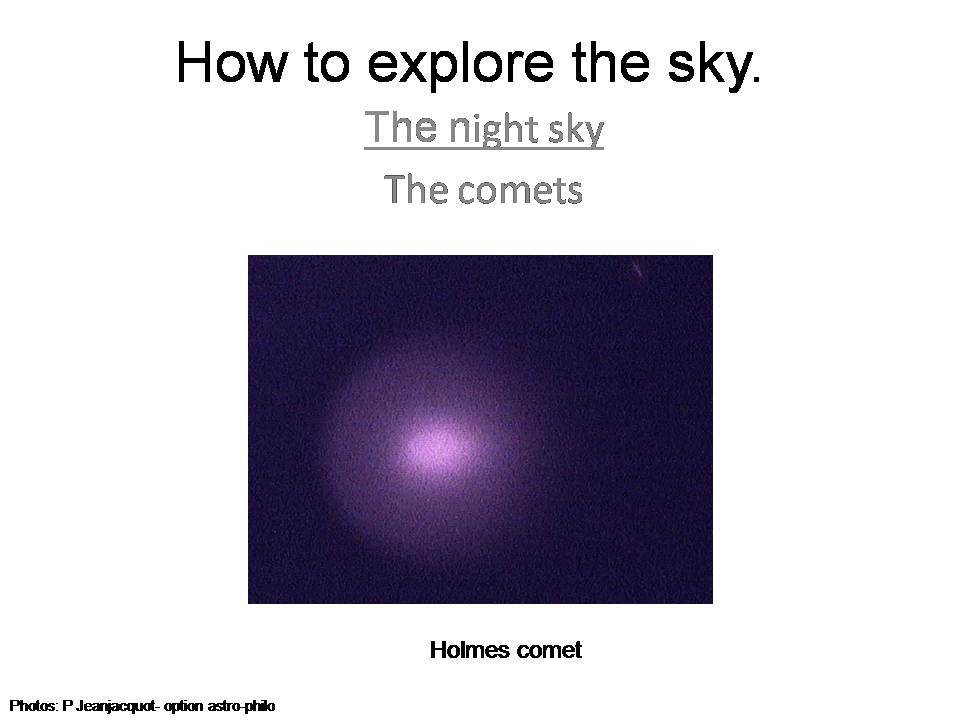 |
We come back to the solar system, sometimes we can see also comets. This sphere of ice and dust has a very eccentric path. When they are near the Sun , the eat makes them shine. |
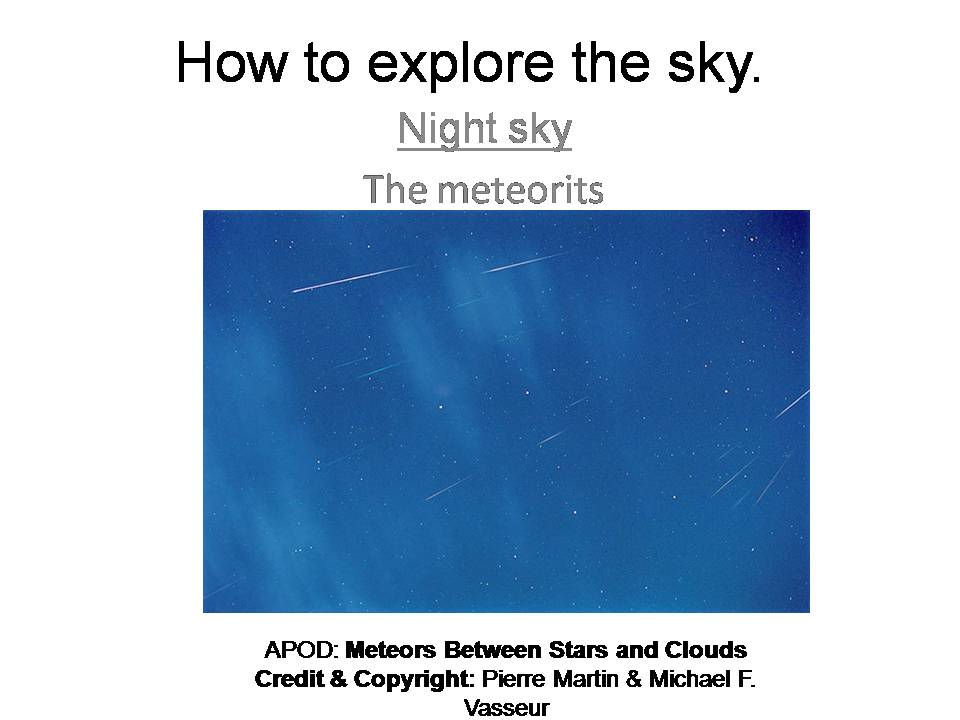 |
The space dust and stones can fall on the Earth, we they cross the atmosphere we can see shinning lines. |
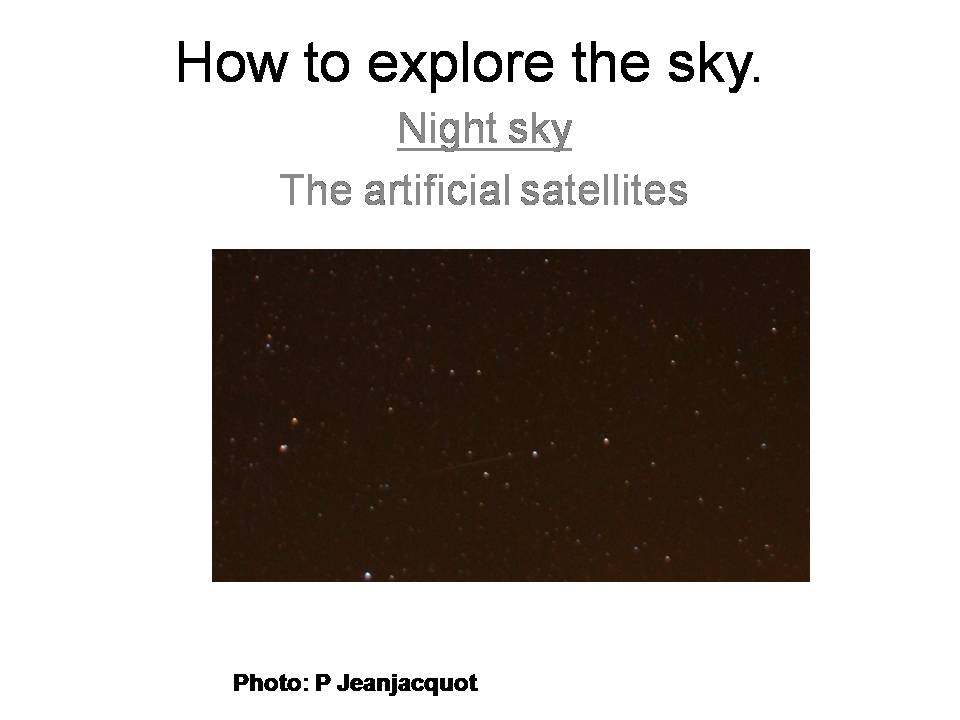 |
In the list of the sky objects, we can see also moving dots. We can see their motion with our naked eyes. This is the signature of artificial satellites. |
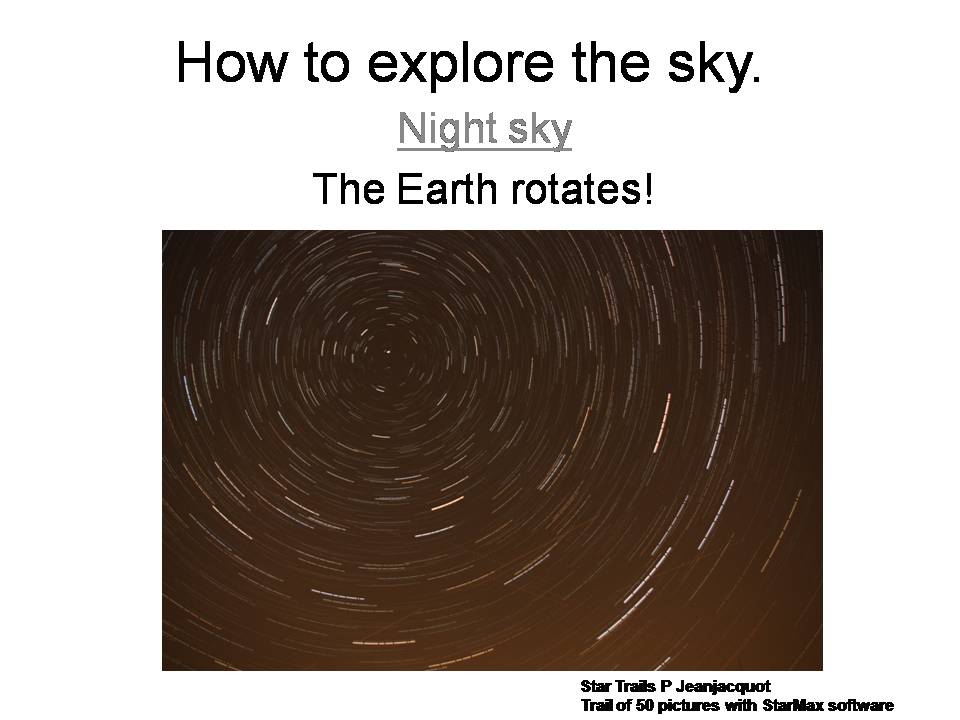 |
If we watch the night sky during a long time, all the stars move. Their path are circles, their centre are near a star called Polaris (in the north hemisphere) |
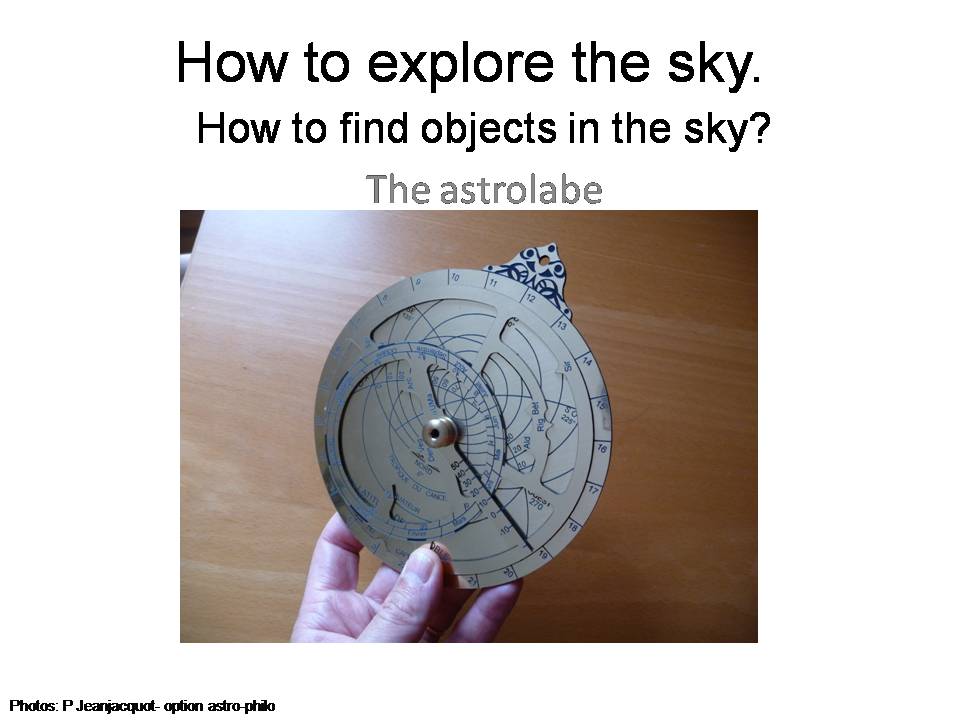 |
In a wide area like the sky, we need tools to help us to find galaxies, stars nebulae. The first of them was the astrolabe. It has been used since the antiquity. |
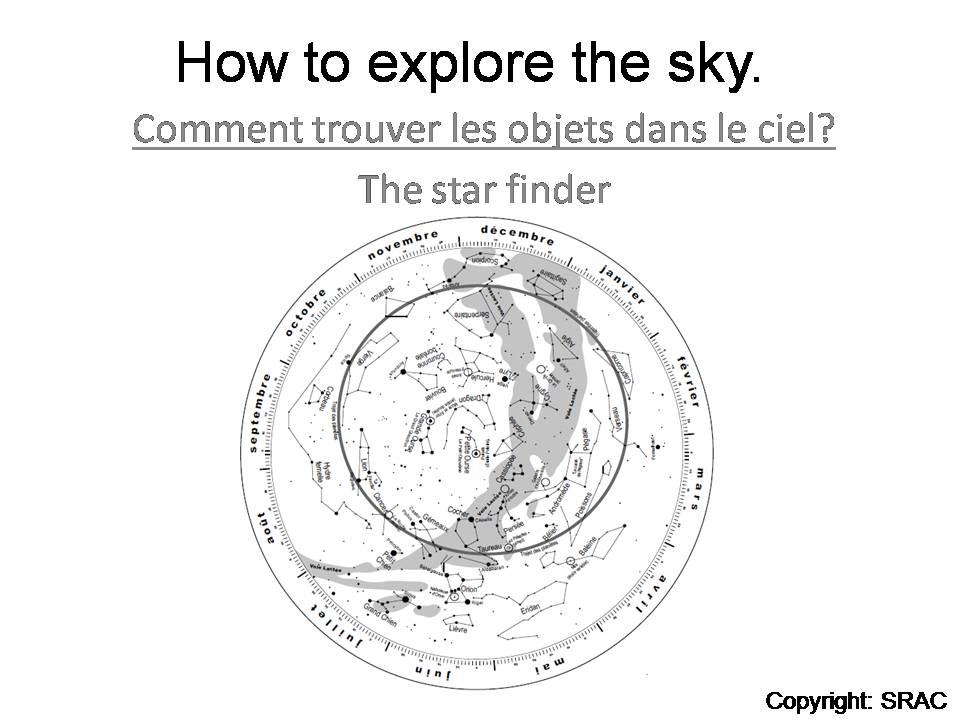 |
The modern version of the astrolabe is the star keeper. The copper was replaced by cardboard. |
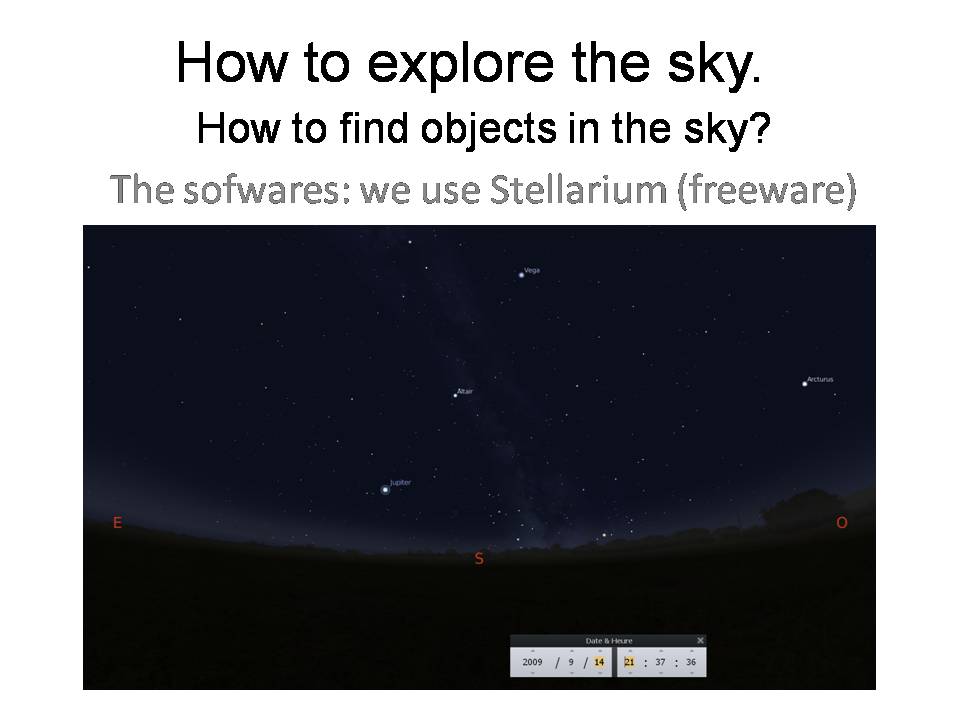 |
Software and freeware can also help us to find stars. We work with Stellarium. |
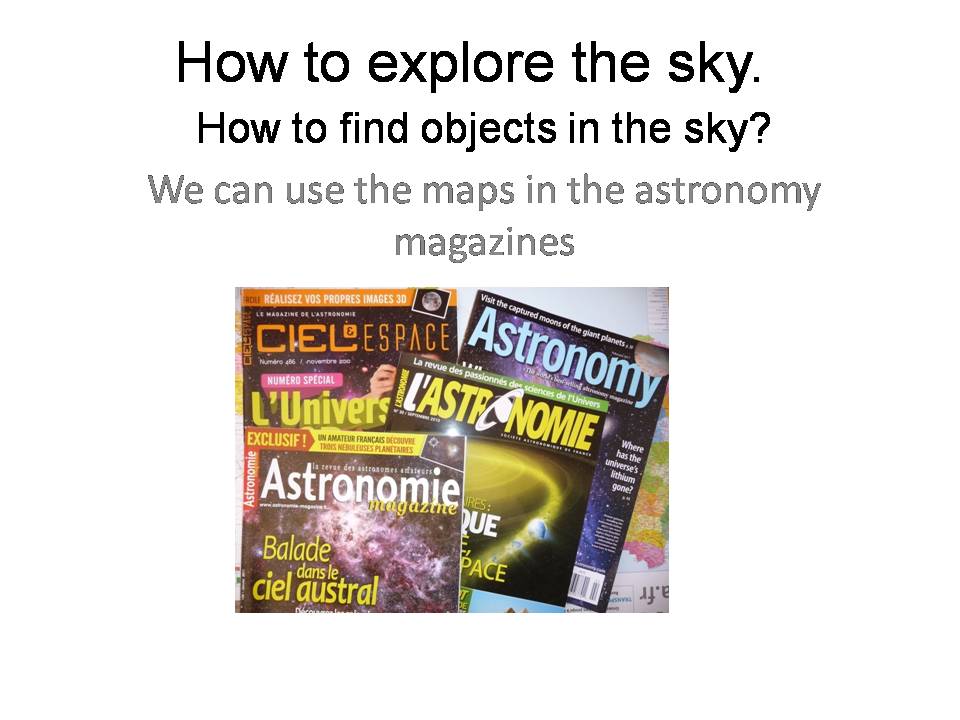 |
We can also find sky maps in the astronomy magazines. All of them have a map for the monthly sky. |
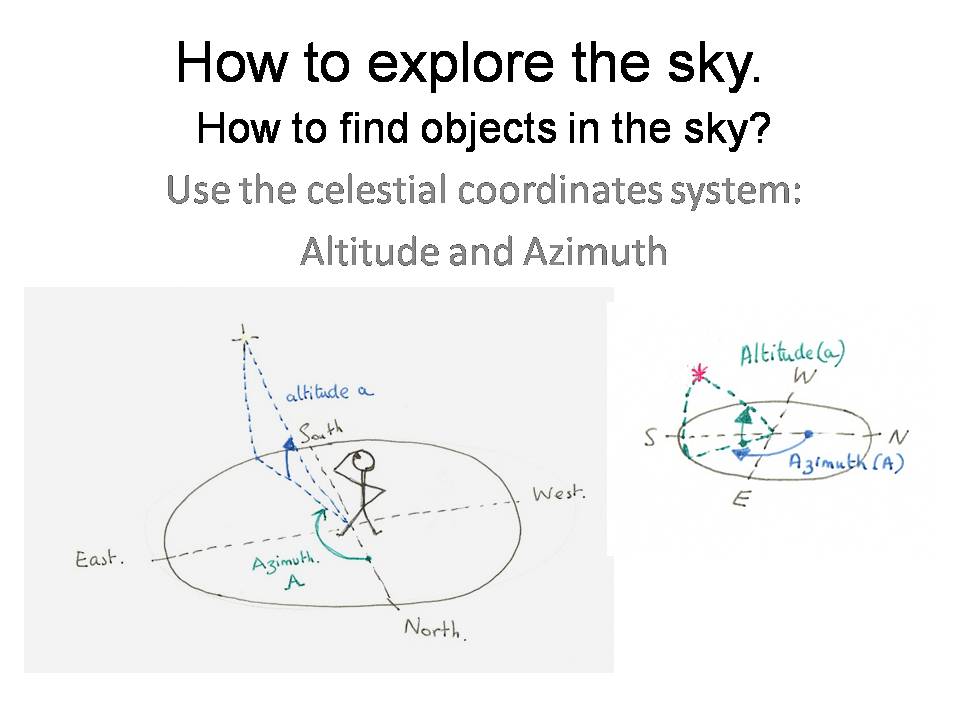 |
When we see the sky, we can compare it to a space with two dimensions Each object position can be define with 2 coordinates. There is two main system. The first is linked to the rotation of the Earth. It is Altitude-Azimuth system. |
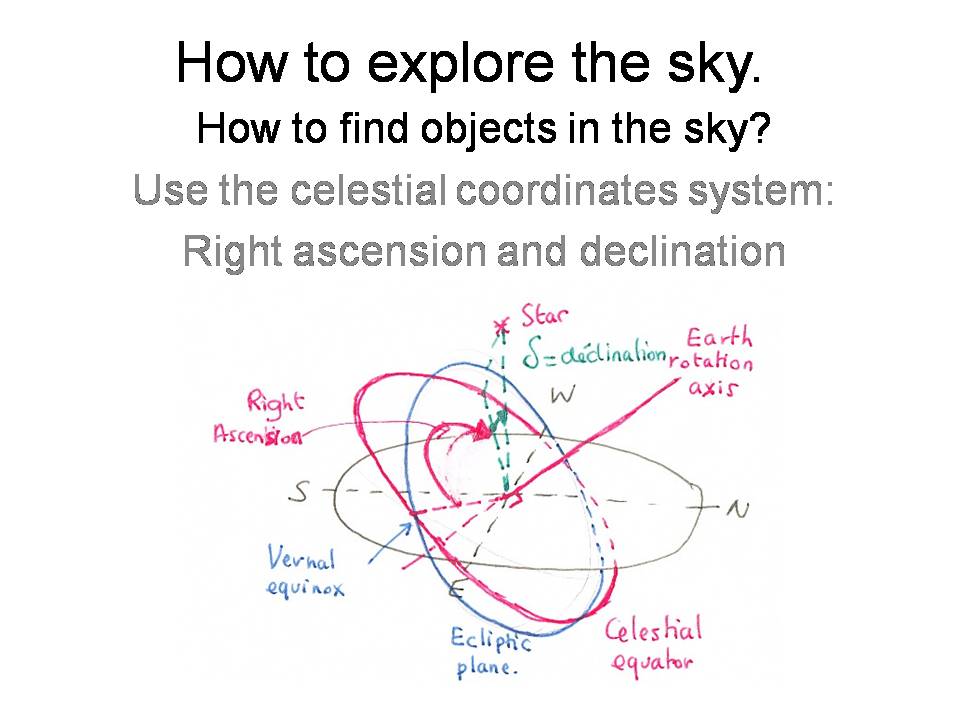 |
The second system is linked to the sky: it is right ascension and declination system. |
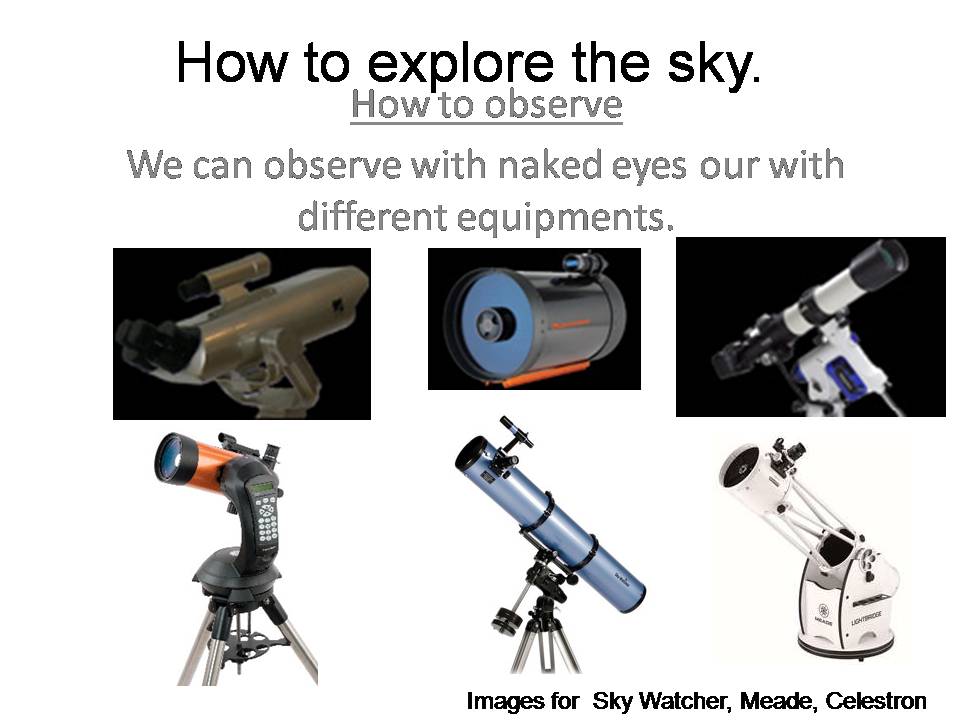 |
During this year, we are going to use our naked eyes to observe but also different kind of telescopes. We are going to learn the technical method to use them. |
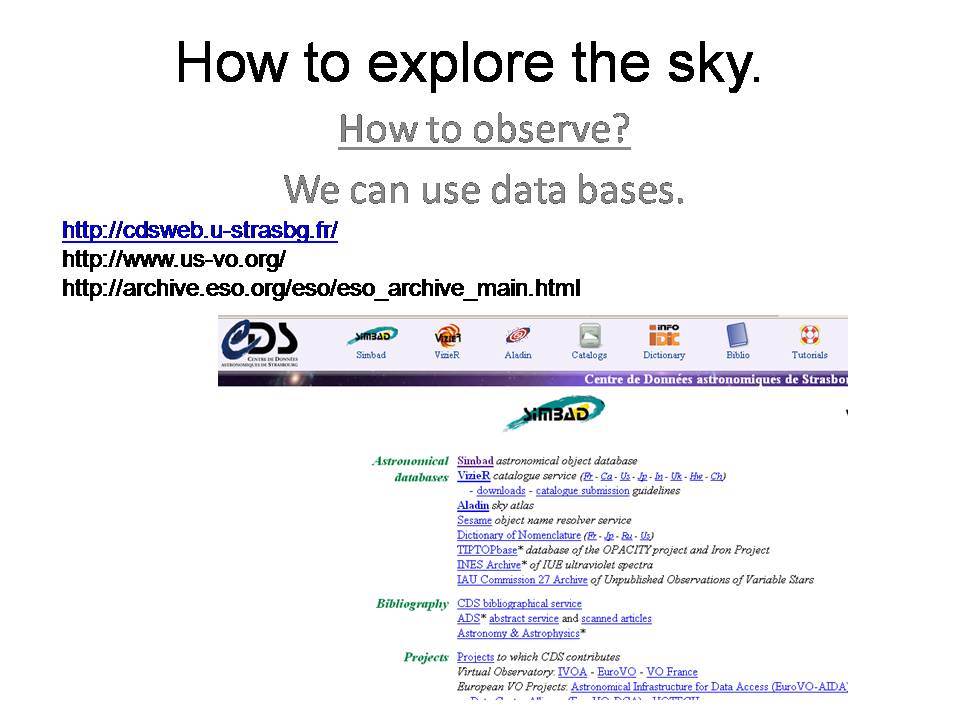 |
We can use also data basis to find the features of the stars |
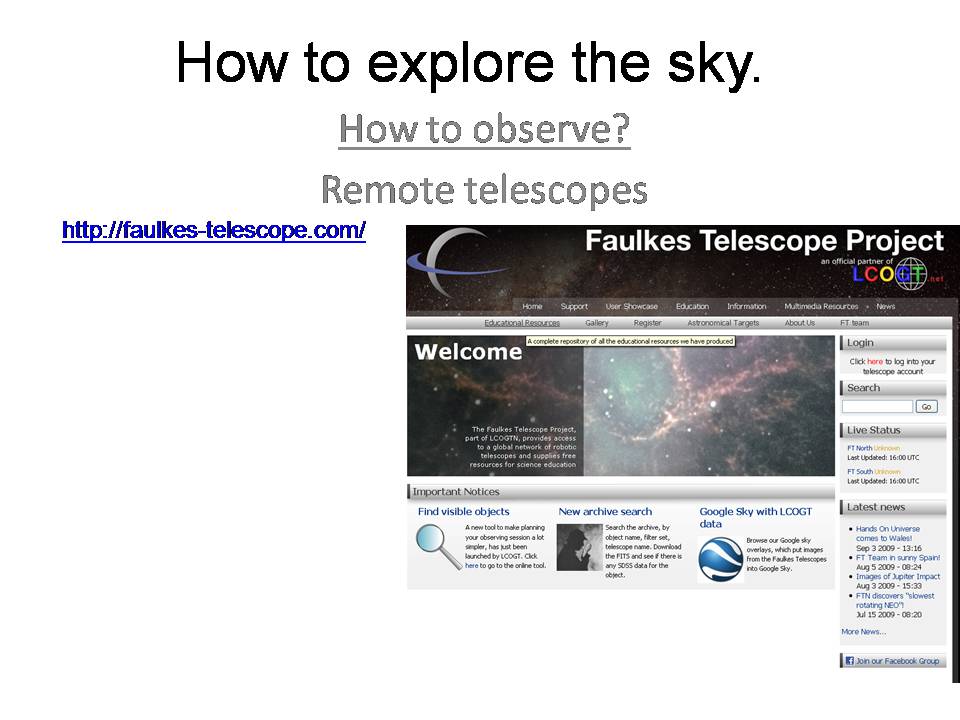 |
A lot of scientist use remote control telescopes. One of these telescope networks is open to education: The Faulkes telescopes. |
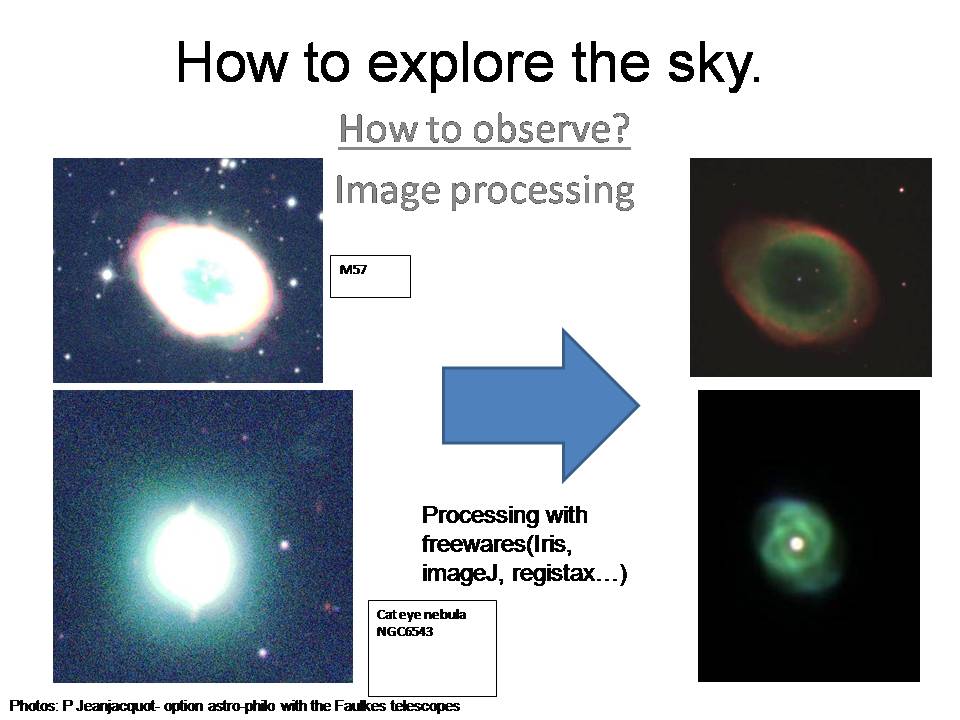 |
When we get a picture of the star or of another sky object we need to process it for calibration. And get the best of the photography. |
 |
The sky can also be studied in not visible light. It provides a great amount of data. |
Actions sur le document

